
n8n
Tracira has a native n8n node. Add monitoring to any workflow with a single node, no HTTP setup required.
Tracira has a native n8n node. Add monitoring to any workflow with a single node, no HTTP Request configuration required: connect once with your token, then branch on the verdict with an IF node.
Prefer to start from a working workflow?
Import one of the free n8n templates. An AI drafts replies to your Gmail and each draft waits in Tracira for your approval before anything is sent. Preview the workflow live, then copy it onto your canvas.
Add the Tracira node after your AI node
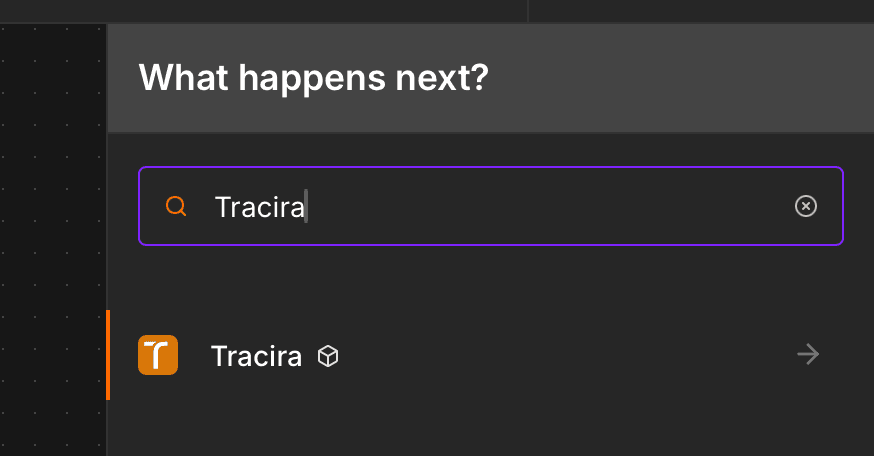
In your workflow, click + after the node that produces the AI output and search for
Tracira. Select the Send an output operation. Tracira is a
verified community node,
available on n8n Cloud with nothing to install. On self-hosted n8n, install it once via
Settings → Community nodes with the package name @deepidealab/n8n-nodes-tracira.
Connect your workspace
Create the Tracira API credential. Paste your API token from the Integrations page in your Tracira workspace into the API Token field. That is the whole configuration: no URL, no headers.
Pick the project and map the output
Choose a Project Name and Task Name from the dropdown (they list your existing Tracira projects and tasks, or accept a new name typed manually), then map AI Output to the output field of your AI node. Optional fields:
- Input Text: the message the AI replied to (e.g. the customer's email) - not your system prompt
- Model, Latency (ms), Cost (USD): for analytics
- Session ID: groups outputs into one conversation thread
Choose what happens after the check
One After Check field decides what the node does once Tracira has the output:
- Wait for the Verdict (default) waits for the evaluation, so the result is
available in the same execution. Add an IF node right after it, with condition
{{ $json.status }}equalspass: true branch continues, false branch notifies or stops. - Do Not Wait, Just Log It returns instantly with
status: "pending"and evaluates in the background. Use it for high-volume logging where you don't need the verdict. - Wait for a Human to Approve holds the output for a person before your workflow acts. See Holding an action for approval below.
Verdict response
{
  "ok": true,
  "id": "b1c2d3e4-...",
  "status": "pass",
  "verdict": "pass",
  "confidenceScore": 0.95,
  "explanation": "The reply stays within the 20% discount cap."
}
status is pass (nothing needs a person), flagged (the output waits on the Review
page) or error (the check could not finish). verdict (pass, fail or unsure) and
explanation say why.
Reacting to decisions: the Tracira Trigger node
The package also ships a Tracira Trigger node ("Watch decisions") that starts a
workflow the moment an output gets a verdict or a human decision in Tracira. It fires on
approved, rejected and edited by default, and you can opt into taken over
(a reviewer handled it themselves, so a waiting workflow can stop expecting an approval
that will never come), taught (a reviewer coached the AI after an output already went
out), flagged, passed and error. Activating the workflow registers the trigger
with Tracira automatically; there is nothing to set up in the dashboard. The decision
field carries the API values: approved, rejected, changed (edited) and handled
(taken over).
When a reviewer edits an output, output already carries their corrected version, so a
workflow that maps output delivers what the human approved rather than the version they
replaced. correctedOutput and aiOutput are there when you need to tell the two apart.
The typical human-in-the-loop pattern uses two workflows:
Workflow A: [ AI drafts ] → [ Tracira: Send an output ]           (submit for review)
Workflow B: [ Tracira Trigger ] → [ IF decision = approved ] → [ Send the reply ]
Decision events include the AI output and its metadata, so the approval workflow can deliver the approved reply with no extra lookup.
Holding an action for approval
When your AI decides to do something with side effects (issue a refund, delete a record), set After Check to Wait for a Human to Approve. That reveals Action Name and Action Summary, both required, plus optional Action Parameters (JSON), Callback URL and Callback Events.
The two halves do different jobs. The action describes what is being reviewed: the
summary is what reviewers read verbatim to approve or reject, so write it as a clear
sentence like Refund EUR 49.00 to Alice Martin (order #8841). The choice itself decides
whether a person is asked at all, and it holds the output in the review queue whatever
your rules conclude.
An action on its own does not stop anything
Your rules answer is this wrong?, never may this proceed? In a workspace with no rule
matching that project and task, an output evaluates as pass. On node versions before
0.16.0 the approval choice relied on the rules alone, so an action could run unreviewed
with nothing reporting an error. Update to 0.16.0 or later, where the node sends
requireApproval and the gate always holds.
Rules still run either way, and they remain the right tool when only some actions need
a person: a data-field rule on action.params.amount flags refunds over a threshold and
lets smaller ones through. When a rule flags the output, its explanation is what the
reviewer reads.
Set a Callback URL so the workflow resumes automatically once a person decides, or leave it blank and start the second workflow with the Tracira Trigger instead. You can also submit an action with no AI Output at all, when there is no message to review and only a step to approve.
Logging a conversation
For a chatbot workflow, send one output per exchange - do not paste the full message history into every output:
- Input Text: only the newest user message (the one your AI just replied to)
- AI Output: the reply to it
- Session ID: your conversation or thread ID (e.g.
{{ $json.threadId }}) - the same value on every turn
Tracira stitches all outputs sharing a Session ID into a single conversation thread, so reviewers read the whole exchange in order with nothing repeated.
Hosted instructions (self-improving prompts)
Tracira can host the instructions (system prompt) your AI runs with, so the prompt lives next to the people reviewing its output instead of hardcoded in your AI node. Reviewers see, edit, and restore every version on the AI instructions page in the dashboard; your workflow always drafts with the latest.
- Add Tracira → Get Instructions at the start of the workflow. Use the same Project Name and Task Name as your Send an output node, and put your prompt into Starter Instructions - it is saved as version 1 on the very first run. Map the returned Instructions into your AI node's system message.
- In Send an output, map the returned Version into Instructions Version so every output links back to the exact instructions that produced it.
- To make the prompt self-improving, react to Edited by a Human events with the Tracira Trigger node: have an AI step rewrite the current instructions to follow the reviewer's comment, then save the result with Tracira → Update Instructions. The next run fetches the improved version automatically.
Attaching files
For small files, use the Input Attachments or Output Attachments fields on Send an output. Each attachment has four sources: Upload File (map a binary field, keep under ~3 MB), From URL (a publicly accessible HTTPS link), Tracira Upload (a key from the Upload a File operation), or Already in Tracira (a file stored on an earlier output).
Each attachment also has a Label. Fill it in whenever an output carries more than one
file: Before photo, After photo, Signed contract. The reviewer sees that above the
file instead of IMG_0042.jpg, and it comes back on the trigger's attachments, so a
later node can pick the file it needs without matching file names.
The label describes the file's role in that output, so it goes on the attachment rather than on the upload:
| Moment | Where |
|---|---|
| Upload a File operation | Nowhere. The file does not belong to an output yet. |
| Send an output → Input/Output Attachments | The Label field, next to the key, URL or binary field. This is the moment, whichever source you picked. |
| Re-attaching with Already in Tracira | Carried over automatically, like the file name. Fill it in only to change it. |
| Afterwards | The Update an Output operation, under File Labels. |
For large documents, add the Tracira → Upload a File operation before Send an output. It uploads the binary straight to Tracira storage (up to 32 MB) and returns a key; map that key into an attachment with source Tracira Upload.
[ AI node ] → [ Tracira: Upload a File ] → [ Tracira: Send an output ]Getting a file back for a redo
Every event on the Tracira Trigger carries an attachments array listing the files stored
on that output, each with a filename, a key, an absolute url, and the label the
sender gave the file.
That is what makes a redo possible for document work. A workflow that parsed a PDF has
finished long before the reviewer reads it, so when they send it back with a comment the
workflow no longer holds the file. Add the Tracira → Download a File operation, map the
attachment's url (or key) into File, and it lands in a binary field your AI node can
read alongside the reviewer's comment.
[ Tracira Trigger ] → [ Tracira: Download a File ] → [ AI node ] → [ Tracira: Send an output ]On that final Send an output, set Revision Of to the original output ID so the versions
form a chain, and add an attachment with source Already in Tracira mapping the same
key. The document stays on the new version without being uploaded again.
Each version keeps its own copy
A re-attached file is copied into the new output rather than shared with the old one. Deleting an output deletes its files, so a shared file would disappear from the revision the moment someone cleaned up the original. It does mean a document revised three times is stored four times and counts four times toward your storage quota.
Requires node 0.17.0
Download a File, the attachments array, and the Already in Tracira source arrived in
0.17.0. On earlier versions, download the file with an HTTP Request node against
/api/media-url instead.
Older node versions
On versions before 0.11.0, the Send an output operation appears as Create a Log, and on versions before 0.14.0 as Check an Output. Same operation either way, and existing workflows keep working after updating. Before 0.13.0 there was a Wait for Verdict toggle instead of the After Check field: steps that set it need reconfiguring once, which is the only manual step in the upgrade.
Updating an output afterwards
Some details only exist after the output was sent: the ticket number your CRM assigns a second later, a category a downstream node decides, the role a file turned out to play. Add the Tracira → Update an Output operation wherever that detail appears.
- Metadata rows merge into what is already stored: only the keys you list change, and a row with an empty value removes that key. Existing Metadata switches to Replace It With These when the listed keys should be the only ones left.
- File Labels renames a file already on the output. Map its
key(orurl) and say what it is. - Update Fields fills in a Session ID, Subject ID or Actor ID that was not known when the output was sent.
[ Tracira: Send an output ] → [ CRM node ] → [ Tracira: Update an Output ]The output itself does not change
Updating an output never touches the AI's output, the verdict or the human decision: they are the record a person judged. (A reviewer's Edit is stored next to the original, never over it.) Changing metadata does not re-run your rules either. When the AI produces a new version, send it with Send an output and set Revision Of.
Requires node 0.18.0
Update an Output and the attachment Label field arrived in 0.18.0. On earlier
versions, call PATCH /api/logs/{id} with an HTTP Request node.
Manual setup without the node
Prefer to wire it up yourself, or running an n8n version where the community node is
unavailable? Everything above is a thin wrapper over the public API: send a POST
to https://tracira.com/api/logs from an HTTP Request node with an
Authorization: Bearer YOUR_TOKEN header. See the HTTP guide for the
payload reference.
Tip
If you use the manual HTTP Request setup, enable Always Output Data on the node so the IF node receives the response even on a 4xx (for example, credits exhausted). The native Tracira node handles errors for you.